Mount your Weststream inflatable boat
So fast and easy
Weststream are designed to be easy to assemble and disassemble. No hard and complicated floors. It takes about 8-15 minutes (depending on the model) to inflate them with the manual pump and about 5-8 minutes with the electric pump.
Open the bag with the tubes and make sure that there are no sharp objects where you intend to roll out the boat. Roll out the boat and bring out all accessories such as floor, tuft and oars.
- Make sure that the “piston” of the air valves is in the extended position
- Pressure in the tubes, 3.6psi / 0.25bar
- Start filling the rear tubes to 75%, then the front ones. Then fill the rear to full pressure.
- Attach the toft
- Insert the floor and place so it is attached to the transom, (may be easier to fold it in the middle along) and pump to 9.8psi / 0.68bar
- Attach the oars, do not tighten the nylon nuts too hard
- Mount ev. engine
- Check necessary safety equipment, local regulations and weather before launching.
Download user manual here

So easy to disassemble
Take the boat out of the water, make sure there are no sharp objects where you place the boat. Remove all loose accessories and possibly engine.
- Start by removing the veins
- Then open the floor air valve, the “piston” should be pressed down and turned so that it gets stuck in the lowered position
- You can now also open the valves in the tubes
- Remove the toft
- Remove the floor, wipe off water and any dirt. Roll / fold it
- Put flooring, oars, pump and toft in the bag
- Wipe the tubes of water and dirt
- Stand behind the boat’s transom and lift the tubes over the center of the boat
- Fold in the rear end of the tubes behind the transom
- Push the transom forward and scroll it forward
- It is important to maintain the width of the transom
- Place the “package” in the bag
Installing launching wheels
Weststream launching wheels are designed to be easy to install. It takes about 15 minutes.
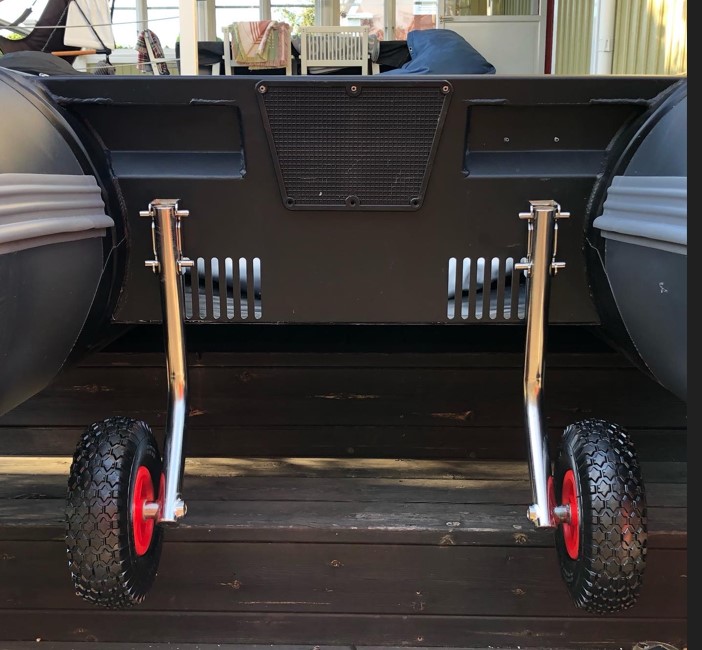
The brackets should be fitted at the top of the outermost of the drain on each side. (if you have a different make of dinghy, mount the bracket so that the wheels can move freely underneath and that they can be mounted up and down when not in use)
- Tools needed: drilling machine, metal drill, wrench and screwdriver
- Fit both brackets at the top of the outer drain, using the screws provided, and the dome nut should be on the inside of the transom
- When the first two screws are in place and the brackets are straight, drill into the upper holes of the bracket to install the second screw
- Install the screw with the dome nut on the inside of the transom
- Check that the screws are tight
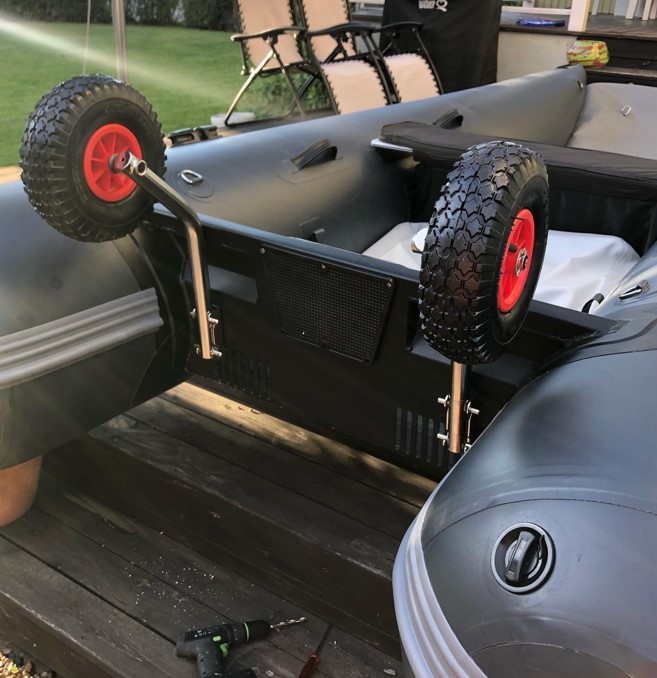
- Our launching wheels have a length that makes it possible to have them mounted even when using the engine, they are then mounted upside down with the wheels facing outwards


